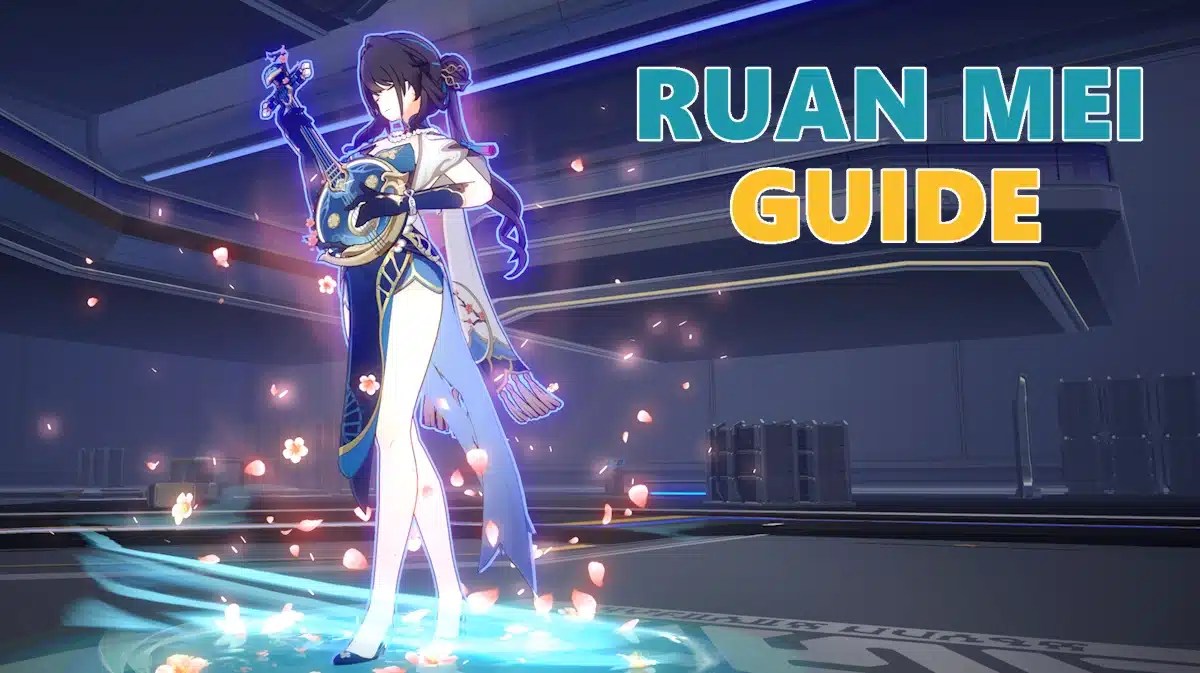
Ruan Mei is a 5-star Ice Harmony character that we have encountered during Simulated Universe. This Genius Society member may seem fragile, but she does seem to hide something behind her beauty. Now, with the launch of Version 1.6, she has become available. Should you get her, or plan on getting her, then here's our Honkai Star Rail guide on the best build for Ruan Mei, from her Light Cones to her Relics and more.
Honkai Star Rail Guide – Ruan Mei Light Cones and Relics Build
Do note that this guide is for the currently available Light Cones and Relics. Should new sets of Light Cones and Relics appear in Honkai Star Rail that are better for Ruan Mei, we will be sure to update this guide.
Jump To: Abilities | Trace Priority | Light Cones | Relics | Teams
We already talked about Ruan Mei's abilities in a separate article. However, for the purposes of this guide let's go through them quickly.
Ruan Mei is a 5-Star Ice Harmony character. The Path of Harmony are the buffers of this game and Ruan Mei is the latest addition to the game's expanding roster of buffers. She even brings with her a new archetype of buffers, ones that empower the team's Break capabilities. Her Basic Attack, Threading Fragrance, deals Ice DMG to a single enemy. Her Skill, String Sings Slow Twirls, grants Ruan Mei the Overtone effect. Whenever Ruan Mei has this effect, she buffs the team's SPD and Weakness Break Efficiency.
Her Ultimate, Petals to Stream, Repose in Dream, creates a field that empowers her allies, increasing their All-Type PEN and making their attacks apply Seamrend on the enemy. Seamrend extends an enemy's Weakness Break, while also delaying their action. Her Talent, Somatotypical Helix, increases the DMG of all allies, while also dealing Ice DMG to enemies who experience Weakness Break, or when attacking Weakness Broken enemies. Her technique, Silken Serenade, automatically triggers her Skills effect one time.
Additionally, her Technique has a special use in Simulated Universe. When she uses her technique before attacking an enemy, it will count as if the player attacked the enemy with an element they are weak to. This attack will deplete the Toughness of all enemies regardless of their Weakness type. If they experience a Weakness Break because of this attack, they will be affected by the element's break effect. This attack gets stronger with every Blessing the player has.
When leveling her traces, focus on leveling her Ultimate first, to increase both the All-Type RES PEN buff, as well as the DMG the field does to enemies. Follow this up with her Skill, which will increase the SPD buff she gives her allies. Next comes her Talent, which increases the Ice DMG it does. Finally, level her Basic Attack, as you won't be using her to deal damage.
As for the Major Traces, try to get Inert Respiration first, then Candle Lights on Still Waters, and finally Days Wane, Thoughts Wax.
All values given here are at maximum Superimposed.
Past Self in Mirror: Increases the wearer's Break Effect by 100%. When the wearer uses their Ultimate, increases all allies' DMG by 40%, lasting for 3 turn(s). Should the wearer's Break Effect exceed or equal 150%, 1 Skill Point will be recovered.
At the start of each wave, all allies regenerate 20 Energy immediately. Effects of the same type cannot stack.
This is Ruan Mei's Signature Light Cone, and her Best in Slot. The general consensus seems to be that she needs 180% Break Effect, and as such the Break Effect that this Light Cone gives will help players reach that goal. Additionally, it increases the DMG the team deals when Ruan Mei uses her Ultimate, which complements the All-Type RES PEN that her Ultimate gives. The Skill point and Energy Recovery is also a good addition, as it allows her team to charge up their Ultimates easily.
Memories of the Past: Increases the wearer's Break Effect by 56%. When the wearer attacks, additionally regenerates 8 Energy. This effect cannot be repeatedly triggered in a single turn.
Memories of the Past is a good F2P Light Cone option, as it also increases Ruan mei's Break Effect. Not only that, but it helps her regenerate more Energy when using her Attack, helping her charge her Ultimate. The only downside is that it doesn't give buffs to her team like the other Light Cones in this list. Most of the support here will come from Ruan Mei using her Ultimate frequently.
Carve the Moon, Weave the Clouds: At the start of the battle and whenever the wearer's turn begins, one of the following effects is applied randomly: All allies' ATK increases by 20%, all allies' CRIT DMG increases by 24%, or all allies' Energy Regeneration Rate increases by 12%. The applied effect cannot be identical to the last effect applied, and will replace the previous effect. The applied effect will be removed when the wearer has been knocked down. Effects of the similar type cannot be stacked.
This is a good general-purpose Light Cone for Harmony characters, and Ruan Mei is no exception. This Light Cone will give her entire team buffs whenever her turn begins, so as long as she stays alive, the team will receive buffs. However, as this does not stack, if you already have a team member with this Light Cone equipped, then just use a different one.
Dance! Dance! Dance!: When the wearer uses their Ultimate, all allies' actions are Advanced Forward by 24%.
This is a decent Light Cone for Ruan Mei thanks to its ability to Advance Forward her team's actions whenever she uses her Ultimate. That means that they can sooner utilize the effects of her Field once it goes up. The only downside is that that is the only thing the Light Cone does.
Planetary Rendezvous: After entering battle, if an ally deals the same DMG Type as the wearer, DMG dealt increases by 24%.
This is the final Light Cone choice for Ruan Mei, effectively turning her into an Ice Buffer for Mono-Ice teams. While it is strong in what it does, the player should use the other light cones in this list instead if they have them.
4-piece Thief of Shooting Meteor
- Increases Break Effect by 16%.
- Increases the wearer's Break Effect by 16%. After the wearer inflicts Weakness Break on an enemy, regenerates 3 Energy.
As of patch 1.6, this is the best Relics set for Ruan Mei. The 4-piece effect gives her a whopping 32% Break Effect, which will help in increasing the damage her Field does to enemies. Additionally, it provides some Energy Regeneration for Ruan Mei, which allows her to charge up her Ultimate Easily.
2-piece Talia: Kingdom of BanditryIncreases Max HP by 12%.
- Increases the wearer's Break Effect by 16%. When the wearer's SPD reaches 145 or higher, the wearer's Break Effect increases by an extra 20%.
Much like the Thief of Shooting Meteor, this Relic set helps build Ruan Mei's Break Effect to the recommended number. This gives a huge 36% increase to her Break Effect when the SPD requirement is met, which should be easy if the player gives Ruan Mei SPD boots.
2-piece Fleet of the Ageless
- Increases the wearer's Max HP by 12%. When the wearer's SPD reaches 120 or higher, all allies' ATK increases by 8%.
This is a good general-purpose Planar Ornament Relic for Ruan Mei as it increases the ATK of her allies once the SPD requirement is met. As always, this SPD requirement should be easy to get with SPD boots. As you might have this Relic set on your healer, however, it might be a better idea to use Talia: Kingdom of Banditry instead.
2-piece Sprightly Vonwacq
- Increases the wearer's Energy Regeneration Rate by 5%. When the wearer's SPD reaches 120 or higher, the wearer's action is Advanced Forward by 40% immediately upon entering battle.
If the player wants to Min-Max Ruan Mei's buffs, then this Relic Set might be a good alternative. As long as the player reaches the SPD requirement, the 40% Advance Forward of her Action will almost always have her acting first. That means she can easily use her Skill, which will buff the entire team earlier.
For Relics Main Stats, get HP% for the Body, Speed for the Feet, HP% for the Sphere, and Energy Recharge% for the chains. As for Substats, try to get Break Effect up to 180%, then SPD, and finally HP% and ATK%. Alternatively, the player can substitute the Body and Sphere for ATK% if they want her to deal a little more damage. The HP% relics are there to ensure Ruan Mei's survivability..
Ruan Mei excels in teams that focus on Break Effects, especially those with Break Effects that actively impair the enemy. That means she will excel in Ice teams (Freeze), Quantum teams (Entanglement), and Imaginary teams (Imprisonment). She can also be used in other teams, but she pretty much excels in the mentioned teams.
Here are some possible team compositions for Ruan Mei:
- Freeze Team
- Jingliu Main DPS
- Pela Support
- Ruan Mei Support
- Shield Support or Healer
- Fu Xuan
- March 7th
- Huohuo
- Entanglement Team
- Seele Main DPS
- Can also be Qingque
- Silver Wolf Support
- Fu Xuan Support
- The above Supports are flexible
- Ruan Mei Support
- Seele Main DPS
- Imprisonment Team
- Dan Heng IL Main DPS
- Can be Dr. Ratio in the future
- Welt Sub DPS
- Yukong Support
- Flexible Support
- You can bring a healer instead
- Ruan Mei Support
- Dan Heng IL Main DPS
These are just suggestions. It is up to the player how they want to use Ruan Mei. It is important to note, however, that Ruan Mei is a must in Simulated Universe. Bring her as much as possible in it.
That's all for our guide on Ruan Mei's best Light Cones and Relics build in Honkai Star Rail. Ruan Mei will be available for drawing once Phase 1 of Version 1.6 goes live. Players interested in getting her must make sure to roll during said banner. Check out our gaming news articles for the latest in gaming news.

