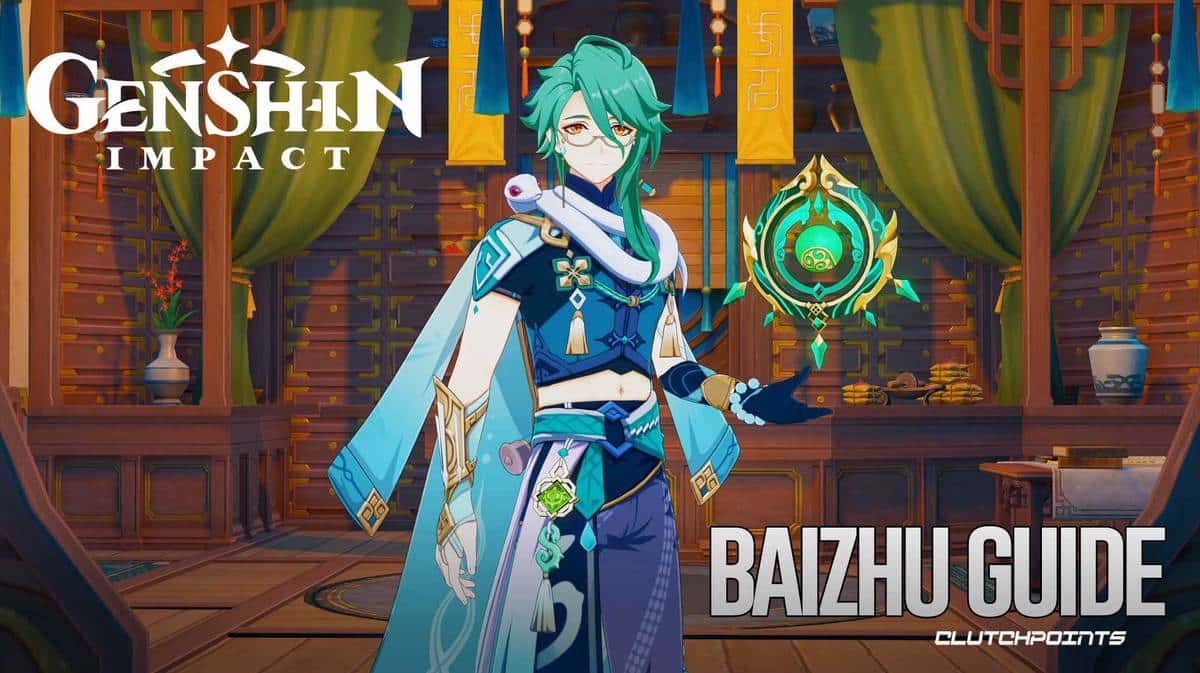
Baizhu is a 5-star Dendro character first introduced to Genshin Impact during the second half of Version 3.6. This lovable pharmacist has been in everyone's sights since he was introduced back when Genshin Impact first came out. And now, he makes a return during the first phase of Genshin Impact Version 4.2 alongside Furina. In this Genshin Impact Guide, we will be talking about Baizhu, his abilities, weapon, and artifact build, as well as his ideal team compositions.
Genshin Impact Guide – Baizhu Weapon and Artifact Build
Baizhu will be available during the first phase of Genshin Impact Version 4.2. That is, he will have a rate-up until the banner ends on November 28, 2023.
Baizhu Abilities Overview
We already have an article detailing Baizhu’s abilities, however, for the purposes of this guide let’s go through them quickly.
Baizhu is a 5-star Dendro Catalyst Character. His normal attack has up to four attacks, and his charged and plunge attack are usual for Catalyst characters. His Elemental Skill, Universal Diagnosis, has Baizhu launch a Gossamer Sprite at enemies. The Sprite will bounce to a max of two enemies, attacking a total of three times. After attacking three times, or if no enemies are nearby, the Sprite will return, healing all nearby party members based on Baizhu's Max HP.
His Elemental Burst, Holistic Revivification, has Baizhu enter the Pulsing Clarity state for 14 seconds. This creates a Seamless Shield that absorbs Dendro DMG with 250% effectiveness. While in the Pulsing Clarity state, Baizhu will generate a new shield every 2.5 seconds. The Seamless Shield will heal the active character based on Baizhu's Max HP, while also attacking opponents using Spiritveins. These deal Dendro damage, and will attack when a new Seamless Shield is generated, or when the current Seamless Shield expires or gets shattered.
Baizhu's first passive skill gives him buffs depending on the current HP of the active character, giving Baizhu a 20% healing bonus if their HP is less than 50%, and a 25% Dendro DMG bonus if it's not. His second passive skill, on the other hand, goes into effect for 6 seconds after a character is healed by a Seamless Shield. For every 1,000 Max HP Baizhu has that does not exceed 50,000, the character will receive the following effects which last for six seconds:
- 2% DMG bonus to Burning, Bloom, Hyperbloom, and Burgeon reacions
- 0.8% increase to Aggravate and Spread reactions
Just by looking at the skills, it's fairly obvious that Baizhu is a Support character in Genshin Impact. He has both heals and shields, with the shield applying Dendro at an interval. Although he can deal some damage via his Skill and Seamless Shield, it would be better to focus on his support capabilities.
Baizhu Weapon Guide
Jadefall's Splendor: For 3s after using an Elemental Burst or creating a shield, the equipping character can gain the Primordial Jade Regalia effect: Restore 4.5/5/5.5/6/6.5 Energy every 2.5s, and gain 0.3%/0.5%/0.7%/0.9%/1.1% Elemental DMG Bonus for their corresponding Elemental Type for every 1,000 Max HP they possess, up to 12%/20%/28%/36%/44%. Primordial Jade Regalia will still take effect even if the equipping character is not on the field.
This is Baizhu's signature weapon and is designed to increase the Dendro DMG he deals with, as well as provide energy for him to use his Elemental Burst often. This increases the uptime of his shield, heals, as well as the Dendro DMG the shield deals. Not only that, but the weapon also gives 49.6% HP at L90, which Baizhu needs to increase his healing and shield DMG absorption.
Prototype Amber: Using an Elemental Burst regenerates 4/4.5/5/5.5 Energy every 2s for 6s. All party members will regenerate 4%/4.5%/5%/5.5%/6% HP every 2s for this duration.
Prototype Amber is a good replacement for those who don't have Jadefall's Splendor. The weapon effect's Energy regeneration helps in keeping his Burst uptime, while the health regeneration helps in topping up the HP of the whole team. The weapon's 41.35% HP at L90 also helps in increasing the amount of HP and Shields Baizhu gives the active character.
Thrilling Tales of Dragon Slayers: When switching characters, the new character taking the field has their ATK increased by 24%/30%/36%/42%/48% for 10s. This effect can only occur once every 20s.
This weapon is good for teams where you don't stay long on Baizhu. When using this weapon, the player can use Baizhu's Elemental Skil or Burst before switching to the main DPS. This gives them a burst window of 10 seconds where their ATK is greatly increased. This weapon also gives 35.19% HP at L90, so it is yet another way to increase the HP and Shields Baizhu can give their team.
Favonius Codex: CRIT Hits have a 60%/70%/80%/90%/100% chance to generate a small amount of Elemental Particles, which will regenerate 6 Energy for the character. Can only occur once every 12s/10.5s/9s/7.5s/6s.
This weapon is very situational, as it requires Baizhu to hit CRITS. This weapon is only ever worth it to use if the player's Baizhu has a decent enough CRIT Rate%. This lets Baizhu regenerate Energy a lot so that he can keep casting his Burst. However, because it gives 45.94% Energy Recharge at L90 instead of HP, the player may have to compensate for the lack of HP using artifacts.
Baizhu Artifact Guide
4-Piece Maiden Beloved
- Character Healing Effectiveness +15%
- Using an Elemental Skill or Burst increases healing received by all party members by 20% for 10s.
If you want to purely use Baizhu to heal, then the Maiden Beloved artifact set is a good option. Players will be able to maximize the artifact set's 4-piece effect, as the healing occurs after the player uses Baizhu's Elemental Skill or Burst. That gives a total of 35% healing effectiveness for all of Baizhu's heals. Sadly, this does not affect shield strength, so the player will have to compensate for that using the artifact's main stats.
4-Piece Ocean-Hued Clam
- Healing Bonus +15%.
- When the character equipping this artifact set heals a character in the party, a Sea-Dyed Foam will appear for 3 seconds, accumulating the amount of HP recovered from healing (including overflow healing). At the end of the duration, the Sea-Dyed Foam will explode, dealing DMG to nearby opponents based on 90% of the accumulated healing. (This DMG is calculated similarly to Reactions such as Electro-Charged, and Superconduct, but is not affected by Elemental Mastery, Character Levels, or Reaction DMG Bonuses). Only one Sea-Dyed Foam can be produced every 3.5 seconds. Each Sea-Dyed Foam can accumulate up to 30,000 HP (including overflow healing). There can be no more than one Sea-Dyed Foam active at any given time. This effect can still be triggered even when the character who is using this artifact set is not on the field.
This is a close second to Maiden Beloved, sacrificing some healing for additional damage. As Baizhu does not need to be in the field for the 4-piece effect to happen, the player can just use Baizhu's Elemental Burst and then switch to a different character. The healing from the Seamless Shield will consistently take effect, which will continuously cause this artifact to deal damage.
4-Piece Noblesse Oblige
- Elemental Burst DMG +20%
- Using an Elemental Burst increases all party members' ATK by 20% for 12s. This effect cannot stack.
This is a situational artifact set and focuses more on buffing the Main DPS after providing them with healing and shields. Like the Ocean-Hued Clam, the player can switch to their Main or Sub DPS after using Baizhu's Elemental Burst, which will then buff their ATK for some time. This is especially helpful for teams with hyper carries. However, as it does not stack, make sure that no one else has a 4-piece Noblesse Oblige equipped.
4-Piece Deepwood Memories
- Dendro DMG Bonus +15%.
- After Elemental Skills or Bursts hit opponents, the targets' Dendro RES will be decreased by 30% for 8s. This effect can be triggered even if the equipping character is not on the field.
This is yet another situational set, turning Baizhu into more of a Dendro applicator than a healer and shielder. While he is capable of applying Dendro easily, it might be a better idea to put this artifact set on a different Dendro character and just focus on his healing and shields. However, it is still a possible artifact set if the player has no other option, as he can apply Dendro even when not in the field.
Prioritize getting HP% as a main stat for the Sands, Goblet, and Crown. If you are having Energy problems, it might be a good idea to get Energy Recharge% Sands instead.
Baizhu Team Guide
Aggravate-Hyperbloom team: Baizhu, Nahida, Cyno, Yelan
Baizhu's off-field Dendro application makes him perfect for teams that involve continuous Dendro application. This is especially good for Aggravate teams, like those involving Cyno. Cyno can apply the Electro using his Burst, with Baizhu's shield applying Dendro every 2.5 seconds. This gives ample time for Cyno to Quicken his opponents, then Aggravate them right after. The player can also throw Yelan's Burst into the mix for Hyperbloom reactions. The player can alternate between Aggravate and Hyperbloom depending on whose bursts are up. Nahida is here to increase everyone's EM and improve reaction damage.
Of course, this is a team that requires various 5-star characters that players may not have. As such, the player can switch Nahida with a different Dendro character like Traveller or Collei, Cyno with Lisa or Shinobu, and Yelan with Xingqiu. These options are for players who don't have access to many five stars, like free-to-play players. This lets them maximize Baizhu without having to specifically roll for certain limited characters.
That’s all for our guide on Baizhu’s best weapon and artifact builds in Genshin Impact. Baizhu is now available with the arrival of the first half of Genshin Impact Version 4.2. He will then be available in a future rerun once the current banner ends. Check out our gaming news articles for the latest in gaming news.