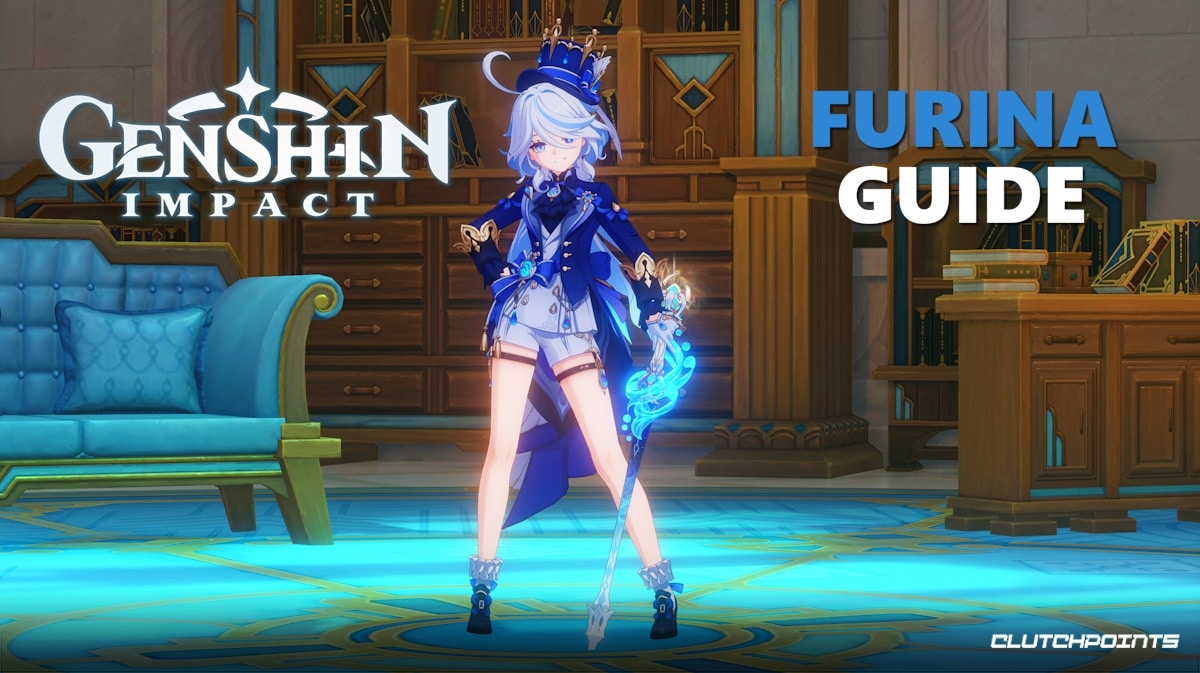
Furina is a 5-star Hydro character first introduced in Genshin Impact during Version 4.0. While the Hydro Archon may be hiding some secrets, how to properly build her isn't a secret. In this Genshin Impact Guide, we will be talking about the beloved Furina, her abilities, weapon, and artifact build, as well as her ideal team compositions.
Genshin Impact Guide – Furina Weapon and Artifact Build
Furina is currently holding a rerun alongside Sigewinne during the second phase of Version 4.7. They will be available until July 16, 2024. Players who missed Furina during her initial run can now try and get her again.
Furina Abilities Overview
We already have an article detailing Furina's abilities, however, for the purposes of this guide let's go through them quickly.
Furina's Normal Attack allows her to attack up to four times, dealing Physical DMG with each attack. Her Charged attack consumes a fixed amount of Stamina to unleash an attack that deals Physical DMG to nearby enemies. Additionally, using her Charged Attack changes her Arkhe alignment.
Not only that but at intervals, Furina's Normal Attacks will cause a Surging Blade or Spiritbreath Thorn to descend, dealing Hydro DMG. Her Plunging attack has her striking the ground below, dealing AoE Physical DMG on impact.
Her Elemental Skill, Salon Solitaire, summons guests from the Salon Solitaire depending on Furina's current Arkhe Alignment. If Furina is Ousia, she will summon three Salon Members that deal Hydro DMG based on Furina's Max HP to enemies.
These Salon Members will drain the HP of characters with more than 50% HP to increase the damage they deal. If, however, Furina is in Pneuma, she will Summon the Singers of the Streams instead, which will heal nearby active characters based on Furina's Max HP.
Players can freely switch between the two groups of summoned creatures by using her Charged Attack.
Her Elemental Burst, Let the People Rejoice, creates a stage of foam that deals AoE Hydro DMG based on FUrina's Max HP. This also causes all party members to enter the Universal Revelry state. While in this state, Furina will gain Fanfare points whenever a nearby party member's HP increases or decreases.
Furina will then increase the DMG dealt and Incoming Healing Bonus of all nearby party members based on the amount of Fanfare points she has.
When leveling her Talents, focus on leveling her Elemental Skill first, as that will be her primary utility and source of DMG and healing. Follow this up with her Elemental Burst, which will increase the DMG it deals, as well as the bonus DMG and Incoming Heaing Bonus from her Fanfare. Finally, level her Normal ATK, as you won't really be using it that much.
Furina Weapon Guide
All values listed below are at R5
Splendor of Tranquil Waters: When the equipping character's current HP increases or decreases, Elemental Skill DMG dealt will be increased by 16% for 6s. Max 3 stacks. This effect can be triggered once every 0.2s. When other party members' current HP increases or decreases, the equipping character's Max HP will be increased by 28% for 6s. Max 2 stacks. This effect can be triggered once every 0.2s. The aforementioned effects can be triggered even if the wielder is off-field.
This is Furina's Best In Slot weapon and directly enhances her Elemental Skill. It does this by both increasing her Elemental Skill DMG and by increasing Furina's Max HP, which in turn also increases the DMG or Healing that her Elemental Skill does. It also helps a lot that the effects can trigger even if Furina is off-field, as she will most likely be an off-field character anyway.
Key of Khaj-Nisut: HP increased by 40%. When an Elemental Skill hits opponents, you gain the Grand Hymn effect for 20s. This effect increases the equipping character's Elemental Mastery by 0.24% of their Max HP. This effect can trigger once every 0.3s. Max 3 stacks. When this effect gains 3 stacks, or when the third stack's duration is refreshed, the Elemental Mastery of all nearby party members will be increased by 0.4% of the equipping character's max HP for 20s.
This is another good Main Hand for Furina, and is really good for Elemental Reaction teams thanks to the Elemental Mastery buffs. Furina can easily stack Grand Hymn to max, so the bonus Elemental Mastery for her team is all but guaranteed already.
Festering Desire: Increases Elemental Skill DMG by 32% and Elemental Skill CRIT Rate by 12%.
This is a good F2P option weapon for Furina, especially for those who have been playing the game for quite a while. Not only does Festering Desire increase the DMG that her Elemental Skill summons do, but it also gives Furina a lot of Energy Recharge (45.94% at Level 90), which allows her to easily charge up her Elemental Burst.
Fleuve Cendre Ferryman: Increases Elemental Skill CRIT Rate by 16%. Additionally, increases Energy Recharge by 32% for 5s after using an Elemental Skill.
This is another F2P option that functions in the same way as Festering Desire. It buffs her Elemental Skill's DMG, while also increasing her Energy Recharge. This weapon can increase Furina's Energy Recharge way more than Festering desire can when conditions are met.
Furina Artifact Guide
4-piece Golden Troupe
- Increases Elemental Skill DMG by 20%.
- Increases Elemental Skill DMG by 25%. Additionally, when not on the field, Elemental Skill DMG will be further increased by 25%. This effect will be cleared 2s after taking the field.
Golden Troupe is the Artifact Set to go to if your focus is to increase the DMG of Furina's summons. This set gives her a total of 70% bonus Elemental Skill DMG when she is off-field, which is likely what you will do with her anyway. As such, you can just equip this on her, and let her summons do all the work. This is a good Artifact set if you intend to keep Furina in her Ousia state a lot.
4-piece Ocean-Hued Clam
- Healing Bonus +15%.
- When the character equipping this artifact set heals a character in the party, a Sea-Dyed Foam will appear for 3 seconds, accumulating the amount of HP recovered from healing (including overflow healing). At the end of the duration, the Sea-Dyed Foam will explode, dealing DMG to nearby opponents based on 90% of the accumulated healing. (This DMG is calculated similarly to Reactions such as Electro-Charged, and Superconduct, but is not affected by Elemental Mastery, Character Levels, or Reaction DMG Bonuses). Only one Sea-Dyed Foam can be produced every 3.5 seconds. Each Sea-Dyed Foam can accumulate up to 30,000 HP (including overflow healing). There can be no more than one Sea-Dyed Foam active at any given time. This effect can still be triggered even when the character who is using this artifact set is not on the field.
Equipping Ocean-Hued Clam on Furina makes her have more of a healer build than anything. This is a great Artifact set if you plan to keep Furina in her Pneuma state instead, as the Sea-Dyed Foam will take effect thanks to her healing Summon. It also increases the DPS output of your team thanks to the frequent Sea-Dyed Foam damage.
4-piece Tenacity of the Millelith
- HP +20%
- When an Elemental Skill hits an opponent, the ATK of all nearby party members is increased by 20% and their Shield Strength is increased by 30% for 3s. This effect can be triggered once every 0.5s. This effect can still be triggered even when the character who is using this artifact set is not on the field.
This is a pretty decent alternative to Golden Troupe as it serves two purposes. First, it increases Furina's HP, which in turn buffs both aspects of her Elemental Skill. Additionally, if Furina is in her Ousia state, the attacks her summons do will buff the entire team. This turns her into more of an off-field support character, rather than the sub-dps that Golden Troupe will turn her into.
2-piece Vourukasha's Glow and 2-piece Tenacity of the Millelith
- HP +20%
- HP +20%
If you just want to increase Furina's HP as much as you can, then this pair of 2-piece effects will work decently. Of course, the downside of this Artifact set is that that's all it does. No special effects or buffs, just purely increasing Furina's HP.
For Main Stats, aim for HP% on the Sands, either HP% or Hydro DMG Bonus on the Goblet, and CRIT Rate, CRIT DMG, or HP% for the Crown. For Substats, look for the usual CRIT Rate and CRIT DMG, followed by HP%/Flat HP, and finally Energy Recharge
Furina Team Guide
Elemental Reaction Team
- Furina
- Furina will be a Sub-DPS in this team, providing off-field DMG and Healing via her Elemental Skill. Her Elemental Burst will also be helpful here in buffing the Main DPS whenever they have their DMG burst ready.
- Hydro Sub-DPS
- The second Hydro Sub-DPS serves two purposes: Hydro Resonance to buff their Max HP%, as well as having another source of off-field Hydro application. This can either be Yelan or Xingqiu, as they can both
- Main DPS
- This will be the main source of your DMG, as your Main DPS will be bouncing off of your Hydro applications to deal DMG. This can be Hu Tao or Yanfei for Vape damage, Wriothesley or Ayaka for Perma-Freeze Comps.
- Support
- This can be a healer or a shielder. Zhongli can work here, but you can also bring Kokomi or Jean, or even Barbara. You can put another Sub-DPS here if you would like, since Furina is also a healer in her own right.
That's all for our guide on Furina's best weapon and artifact builds in Genshin Impact. Furina is now available with the arrival of the second half of Genshin Impact Version 4.7. Once this rate-up ends, players will have to wait until another rate-up to get her.
Check out our gaming news articles for the latest in gaming news.