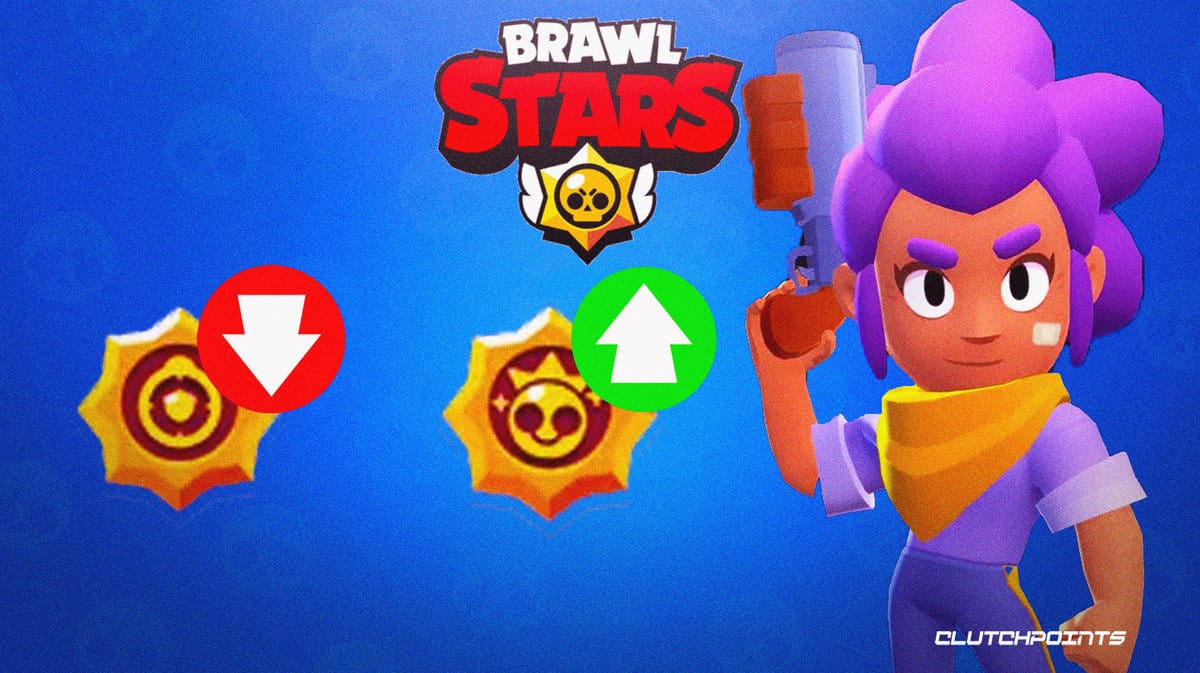
Brawl Stars Season 19 is upon us, and with it comes two new brawlers, Starr Drops, and changes to the Brawl Pass. While we enjoy the season, let's take a look back at all the game's Star Powers, and make a list of the 10 best and worst. This guide should hopefully help new players decide on what they should unlock first when playing the game for the first time.
Star Powers are unlocked at level 9, while gadgets are unlocked at level 7. It's recommended that Brawl Stars players should focus on unlocking Star Powers and Gadgets before looking into gears.
But without further ado, here is ClutchPoint's Top 10 Best & Worst Star Powers in Brawl Stars.
The Top 10 Best Star Powers
10. Comboshrooms (Cordelius)
Since Cordelius is a fairly close ranger brawler, connecting both attacks at such a distance shouldn't be difficult. So it's always nice to have extra damage, especially for a brawler who needs to get up close and personal. At level 11, Cordelius' first mushroom already deals 1090 HP worth of damage, so you're dealing well over 2100 HP worth of damage with just one ammo. Additionally, using this gadget with your Super and Poison Mushroom gadget should guarantee you a victory in any 1-on-1.
9. Boosted Booster (8-Bit)
With this Star Power not only do 8-Bit and his allies deal more damage in his Super's area, but they get a 15% damage buff. Plugged In is also a great Star Power, but we like Boosted Booster because it helps the whole team. Unless you're playing Solo Showdown, Boosted Booster benefits everyone on your side of the field, and provides cover for desperate times. Since the Star Power's radius is increased by over 1.5 tiles, it also allowed 8-Bit to place his turret farther back so it can stay alive longer.
8. Rude Sands (Sandy)
Both of Sandy's Star Powers are great, but we prefer the damaging effects of Rude Sands over the healing properties of Healing Winds. For one, it prevents enemies from healing while marking any foes in the bushes. It's a great Star Power for gem grab because you can throw it over the middle and watch your opponents struggle to reach the gems in one piece. Meanwhile, you and your friends are sneaking around and taking advantage of the opportunity.
7. Da Capo (Poco)
Screeching Solo may be the more popular Star Power, but Da Capo is just too good to ignore. Poco is a healer, and with Da Capo you strengthen his strengths. Sure, dealing 1000 damage of HP with your Super can get you out of a pickle, but it doesn't keep your teammates alive. Poco's attacks pierce through teammates and enemies. Therefore, you can deal damage, heal teammates, and charge your Super all at once. Match this with his Tuning Fork Gadget and your healing teammates for 1100 HP per second.
6. Automa-tick Reload (Tick)
How does one Brawl Stars dev make Tick more annoying? By increasing his reload speed, of course. Well Oiled is okay if you need to heal, but Tick is usually the type of brawler to sit back and not get directly involved. It only increases his reload by 9%, which may not sound like much, but it certainly feels that way. Since his release, Tick has been the one of the most controversial brawler in the game, and extra reload speed only makes him worse to go against.
5. Happy Surprise (Eve)
Eve's strength is relying on her Hatchlings to push enemies away. Therefore, more hatchlings means a better chance for Eve to dominate. Enemies will sometimes waste ammo too by auto-aiming at Eve, only to shoot the hatchling instead. By using her Super, her Quadruplets gear, her Happy Surprise Star Power, and her Gotta Go gadget, Eve can have a total of six hatchlings on the field at once. That's a total nightmare for any single projectile brawlers (and especially Mortis).
4. Extra Toxic (Crow)
Crow doesn't have the most HP, so any chance to lower enemy damage output is welcome. In fact, Crow may be the only brawler who can slow enemies (Slowing Toxin Gadget), lower their damage output, and increase his own damage (Enduring Toxins Gear) all at once. Extra Toxic is not only helpful to Crow, but it can help your teammates survive close 1-on-1 interactions. It seems like a subtle difference but actually helps with most encounters.
3. Serve Ice Cold (Surge)
Surge is useless in Stage I, so it's important to use Serve Ice Cold. This way, you can just focus your first life on charging your Super and reaching Stage II. Once in stage II, Surge will have faster movement speed, making it much easier for him to wipe enemies out. Then, you can focus on reaching Stage III, which increases Surge's range, making him almost unstoppable if used by the right player. We much prefer this Star Power over To The Max, which is maybe only useful on maps with lots of walls.
2. Blustery Blow (Gale)
Despite not receiving a buff since March of last year, Gale is still one of the game's best (and most annoying) brawlers. Part of the reason why is his Blustery Blow Star Power, which stuns enemies for 1.25 seconds when Gale's Super launches them into a wall. This Star Power is useful in any mode, so long as the map has plenty of walls to shoot enemies into. It seems like the return of indestructible walls doesn't just help Close Range brawlers, after all.
1. Snare a Bear (Bo)
Bo's attack strategy usually relies heavily on the use of his mines. When his mines can stun enemies for 2 seconds, it usually gives him enough time to get the kill, or charge his next Super at least. Circling Eagle is a nice Star Power, but it's only useful on bushy maps like Snake Prairie or Island Invasion. Therefore, we recommend Snare a Bear since it can be so clutch in any mode. This is without a doubt the best current Star Power in the game.
The Top 10 Worst Brawl Stars Star Powers
10. Gaso-heal (Stu)
We like the idea of Stu being able to heal himself, but only 400 HP per Super isn't exactly a great deal. For one, if you're looking it to escape an interaction, his Zero Drag Star Power does a much better job. Stu already doesn't have a lot of HP, so to only heal yourself for such a small amount won't really save you from most fights. Some people can pull off two Gaso-heals with one attack by carefully timing their Supers, but it's extremely difficult and not practical to use.
9. Fertilize (Spike)
Compared to Spike's Curveball Star Power, Fertilize feels like a waste. It's nice that Spike and his teammates can heal 1000 HP per second while in his Super's AOE, but we think his Super is much better suited to slowing down enemies and damaging them. Plus, Curveball is less predictable and much harder for opponents to avoid. Fertilize may not be the absolute worst, but we almost never see it being used.
8. Tougher Torpedo (Buzz)
Some people may look at Tougher Torpedo and think “Gee, I could use the extra stun time to wipe out my enemy”. In reality, it's one of the most useless Star Powers in the game. First off, it takes Buzz one second to reload, whereas his Star Power only gives him 0.5 seconds of extra stun time. Therefore, it takes Buzz the same amount of time to reload as the stun does. With lots of brawlers having jump, stun, or slow gadgets, or just being flat-out stronger, this Star Power won't help our friendly dino in every situation.
7. Scorchin' Siphon (Amber)
Amber gets a 50% reload speed while in her oil puddle. However, now you've caused yourself quite the dilemma. Amber will be unable to shoot without setting off the fire, and getting rid of the puddle. Now you can't make use of your puddle, or the reload bonus that comes with it. We much prefer Wild Flames, since you can have two puddles and cover the map more.
6. Remote Recharge (Sam)
If enemies stand close to Sam's Knuckle Busters, he will charge up his Super. But when using his Super, most enemies tend to flee from Sam's Knuckle Buster. While at least Hearty Recovery gives Sam some extra HP, Remote Recharge is unlikely to help him charge his Super. Most enemies anticipate him to use his Magnetic Field Gadget, which will pull enemies closer to his Knuckles. That's why they won't stick around.
5. Sneak Peek (Chester)
The ability to see what Chester's next Super will be isn't all that helpful. By using this over Bell-O-Mania, you're restricting Chester to only three maximum bells per shot, all just to see which Super he has next. Since all of Chester's Supers have their uses, theres' really no point in seeing which one you'll get. It's much better just to wait and see what you have, and then strategize.
4. To The Max (Surge)
Surge has one of the best Star Powers, and now arguably one of the worst. As mentioned previously, To The Max is only helpful on maps with plenty of walls. Using this also means Surge won't keep his Stage II upgrade during a match. This will likely cause players to struggle as they'll be forced to stay alive, move slowly, and have low range.
3. Steel Hoops (Darryl)
Darryl used to be one of the best close range options in Brawl Stars, but time's have changed. We think part of the reason why is because his Star Powers aren't as good as they could be. Steel Hoops only gives Darryl a 25% shield for just two seconds after using his Super. It's not enough time protecting the barrel-loving pirate, and the shield percentage feels a bit low. Hopefully Supercell addresses this soon, and Darryl returns to dominance.
2. Malaise (Byron)
This Star power causes enemies to receive 75% less healing from any source for 9 seconds after being hit by Byron's Super. It's only useful if you're facing a team with another healer or two on it. At least with Injection, Byron can launch his attacks through objects and hit multiple targets at once. Malaise just feels too specific and can only be used in specific situations.
1. Field Promotion (Ruffs)
I hate to put this at the bottom of the list because it's so fun to use. But it's true, Field Promotion is arguably the worst Star Power in the game. It's fun to watch your teammate's Max HP go up by 30 points every second, but it also requires you to stay close to them. This allows you to become Jessie's (or any brawler with piercing or connecting attacks for that matter) chew toy. Since every mode requires you to be on your toes and moving about, this just isn't a great Star Power.
We even tried camping in bushes with Frank during a duo showdown match multiple times, but barely got to be one of the final two duos left. Ruffs is a good boy, but he may need to learn a new trick or two soon.
For more Brawl Stars and gaming news, like Season 19, Cordelius, and Starr Drops, check out ClutchPoints Gaming.