Most of Remnant II's locations are filled with challenges, with these challenges usually coming in the form of enemies. The Cathedral of Omens, however, challenges players with an intricate puzzle instead. In this Remnant 2 guide, we help you discover the solution to The Cathedral of Omens puzzle and help you earn the rewards of this dungeon.
Solution to The Cathedral of Omens Puzzle
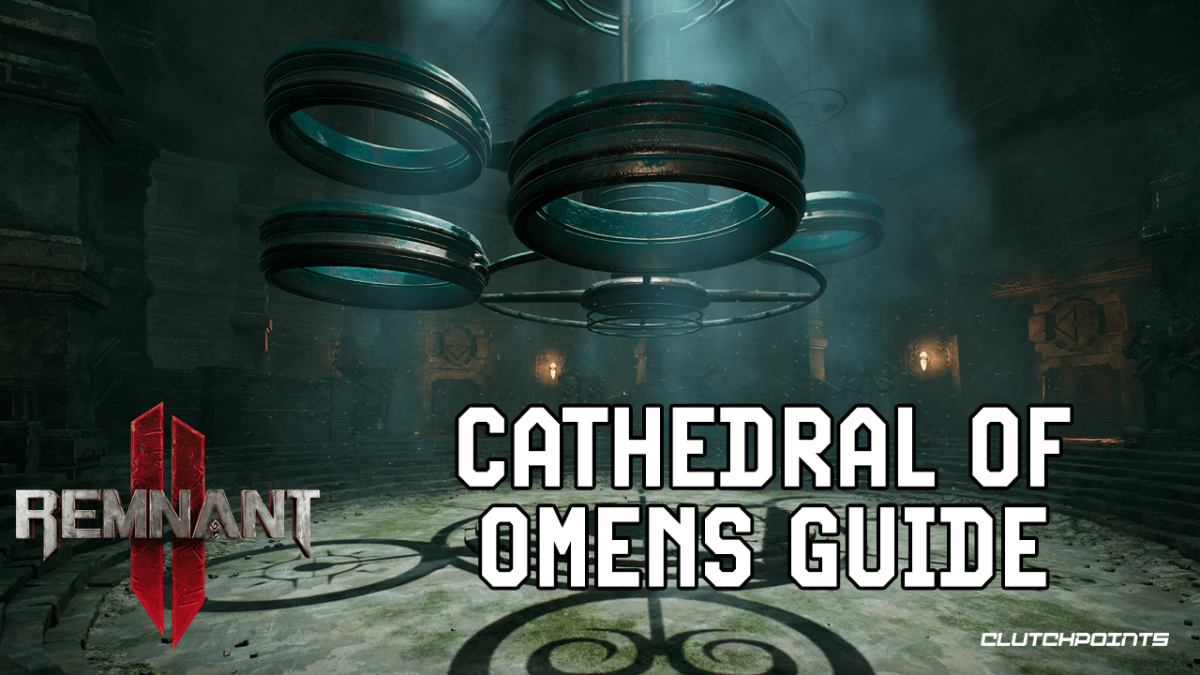
As you enter the Cathedral of Omens, you'll see a lever and a large contraption suspended from the ceiling. The ceiling has a collection of circles layered from top to bottom. The top circle contains different symbols. The second layer has a set of rings opposite to each other and a triangle ruler. The bottom layer has two rings adjacent to each other. The solution to The Cathedral of Omens puzzle lies in arranging these three layers in the correct order. In fact, there are three puzzles you can solve here, with three sets of rewards to collect. As an added bonus, you'll get more rewards if you enter the Cathedral of Omens while Yaesha is under the Blood Moon.
The Symbols – There are six symbols you should know about, which you can find in a book in one of the rooms in this large hall. Find the book and familiarize yourself with the symbols. Throughout this guide, we will reference these symbols.
The Levers – The first lever you see as you enter the room is responsible for the second layer – it moves the two opposite rings and the triangle ruler. There is a second lever to your left and a third lever to your right. The left lever rotates the adjacent rings and the right lever rotates the symbols.
The Three Puzzles – Reading through the book of symbols, you'll also read about two of the puzzles: The Calamity and The Blood Moon. A third book lies near the second lever which reveals the third Cathedral of Omens puzzle: The Hope. On each of the pages that recount these puzzles, a triangular symbol can also be found. You can find these triangular symbols above the doors that you will unlock as you solve these puzzles.
Solving The Calamity Puzzle – To solve the Calamity Puzzle, using the first lever, align the Triangle to match the orientation of the triangle symbol (the orientation is based on the perspective as you face the door.) Using the third lever, move The Ravager symbol closest to the door. Finally, using the left lever, have the two adjacent rings above Death and The Doe. The rings should encircle three symbols: Death, The Ravager, and The Doe, and the triangle should have its tip pointing to the left. Solving this puzzle will open the door and reward you with the Faith Seed crafting material, which you can craft into The Astral Burst Weapon Mod.
Solving The Blood Moon Puzzle – To solve The Blood Moon Puzzle, using the first lever, align the Triangle to match the orientation of the triangle symbol (the orientation is based on the perspective as you face the door.) From the perspective of the first lever, the tip of the triangle should point toward the top right. Then, using the third lever, move The Ravager closest to the first lever. Finally, using the second lever, place it over The Moon and The Ravager. Solving this puzzle will open the door to the left and reward you with two chests containing crafting materials. If you solved this during The Blood Moon event ongoing in Yaesha, a trap door will open in the middle of this room and reward you with a Ring of Omens and three Blood Moon Essence.
Solving The Hope Puzzle – To solve The Hope Puzzle, using the first lever, align the Triangle to match the orientation of the triangle symbol (the orientation is based on the perspective as you face the door.) From the perspective of the first lever, the tip of the triangle should point towards the lower left. Then, using the third lever, move Death closest to the first lever. Finally, using the second lever, place it over Life and The Sun. Solving this puzzle will have the Sagitarrius Bow Long Gun emerge from below in the middle of the hall.
For maximum rewards, make sure to solve all these puzzles while the Blood Moon is active. Otherwise, try to start one by leaving and re-entering Yaesha from another world. Since you're already here, you might also be interested in checking out our Remnant II guide on how to unlock the game's Secret Archetypes. For more Remnant 2 guides, stick with ClutchPoints Gaming.