The Lament is a location in Yaesha in Remnant II. It is filled with traps, puzzles, enemies, and of course, treasure. In this Remnant 2 guide, we'll talk about solving all the puzzles, teaching you how to avoid the traps, and finding the treasure found within.
The Lament is one of the sub-locations in Yaesha and it's possible that you complete the main campaign of Yaesha without ever seeing it. But once you're here, you should make the most out of it, because there are quite a number of treasures here you won't find anywhere else.
Just like everywhere else in Remnant II, the traps and puzzles in The Lament could include other traps and puzzles that can be found elsewhere in Yaesha. We will only be listing the traps and puzzles that are exclusive to The Lament in this article.
Arrow Maze – The Simple Arrow Trap is guaranteed to spawn at the entrance of this location, so you will always have to go through here regardless of your re-roll. Thankfully, this section is easy to clear. You just have to be aware of the timing of the arrows. Simply crouch to not get hit, and vault over the waist-high walls when the arrows aren't firing. Get past these traps and you'll be able to reach a lever that will let you deactivate the traps permanently.
Going forward will lead you to the main chamber room of the dungeon, a room filled with coffins. To the right of the lever is a wall that you can climb, which could lead you back to the checkpoint through a shortcut, to a locked door to the second floor of the dungeon, and to the Invisible Bridge Puzzle.
Let's go to the main chamber room first, and solve the The Lament Dial Puzzle.
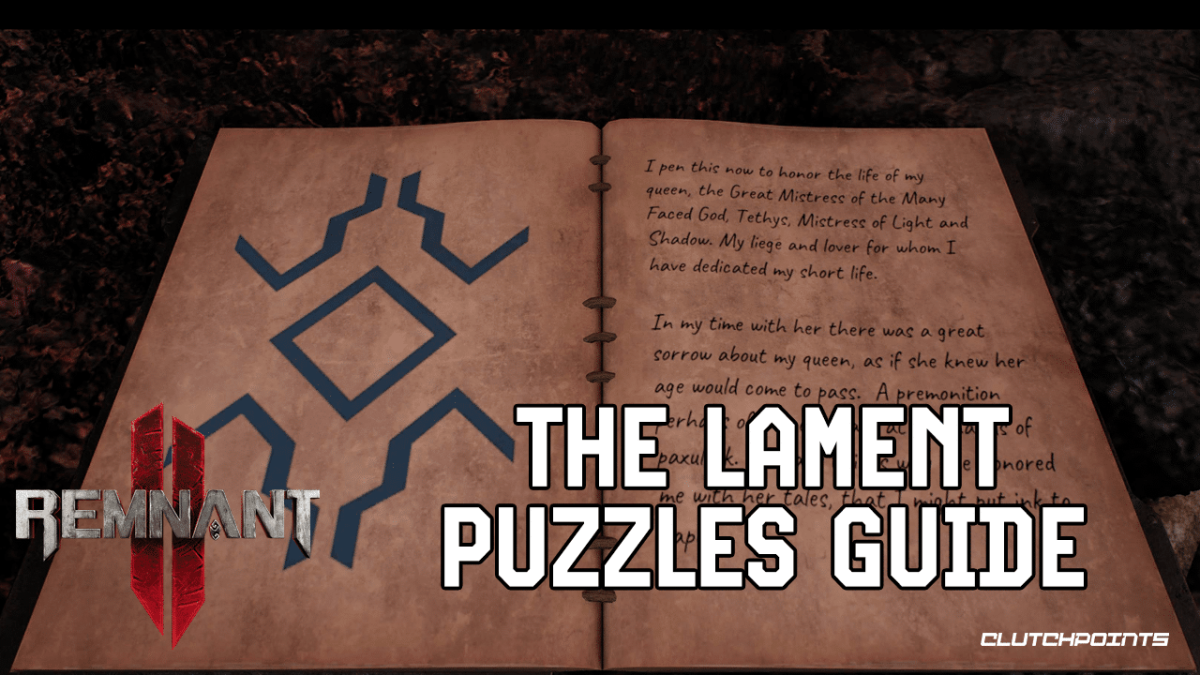
Dial Puzzle (Consort's Puzzle) – In this room, you'll see a lot of coffins. On the wall above the coffins are different symbols. The coffins themselves contain mummified Pan priests, covered in colored cloth. Take note of the colored cloth covering the Pan priests. Head down the ramp in the middle and find a book. Take note of the colored symbol found in the book. This symbol can be found on the cloth covering the priests. Find four of the coffins with the correct color, and take note of the symbols on the wall above them. In some seeds of this dungeon, the rest of the coffins are on the second floor and you'll have to clear most of the dungeon to get there. Once you've found the four symbols, find the Dial Puzzle and align the four symbols to the middle marker in any order. This will open the door leading deeper into the dungeon.
There will be a checkpoint past this door. Walk past it and you'll find the Blood Tinged Ring. You'll also start a fight with the Abberation Wither. Defeat Wither and it will drop the Overdrive Mutator. There should also be a chest that contains Kolket's Razor. Kolket's Razor can be brought back to Yaesha and offered to the Nightweaver Web to obtain the Nightweaver's Grudge Amulet, but you'll need to interact with the Kolket's Razor by inspecting it to obtain Kolket's Key, which you'll need for the Invisible Bridge puzzle.
Red Widows' Coffin – Before heading back to the Invisible Bridge, go back to the checkpoint nearest Wither. It should be a small room with pots. Dodge towards the pots to reveal a small corner where you can drop off to. You will land in the sewers. Follow the water and crouch to enter the drain. Towards the end of this, you'll find the Supply Room Key. Use this key to open the locked door in this room. This will lead you to a pathway filled with Saw Traps. Be careful here because getting hit by the saws lead to instant death. However, it's not that hard to beat. As the big saw to the left approach you, time your dash forward as it moves away from you, then switch to the right as you walk past the elevated platforms, then move back to the left on the next one. Try staying closer to the center to make sure that the horizontal saws don't hit you. You can also use the Black Cat Band or the Challenger's Die Hard perk to help you out here. Past these traps, you'll enter an elaborate room with a single coffin in the middle. Loot this coffin to obtain the Red Widow Set.
Invisible Bridge Puzzle – Follow through the other path we didn't go through earlier, and you'll eventually end up facing the Invisible Bridge Puzzle. You'll see seemingly floating pillars with plates on top of them. On the plates are inscriptions of symbols. Notice the inscription on the first pillar, and see all of the other pillars that have the same symbol. There should be an invisible platform bridging one pillar to the other. To be safe, you can shoot at the air in between the pillars with bullets. If the invisible bridge is there, you should be able to leave ammo marks in the air. Once you reach the final pillar, you will have to jump to cross the final gap. Use Kolket's Key to open the locked door. Behind this door, you'll find four coffins with treasures in them, including the Ring of Diversion. Look for a wall that has some red particle effects on it. This is a fake wall and you should be able to walk past it. Follow the path and jump off the ledge when you reach it, and you'll land on a coffin suspended with ropes. You can loot the Lodestone Crown here, which is a nice headpiece that emits a bluish glow. Wear the Lodestone Crown while talking to Bedel of the Vauunt elsewhere in Yaesha and he'll give you the Lodestone Ring.
This concludes this guide. Once you've found all of the loot, there's nothing else to do here but head back to the entrance and leave the dungeon. We hope that this helped you solve The Lament's puzzles and traps and discover all of its loot and treasures.
Since already you're here, you might also want to take a look at our guide to unlock all of the Secret Archetypes in Remnant II. For more Remnant II guides, stick with ClutchPoints Gaming.

