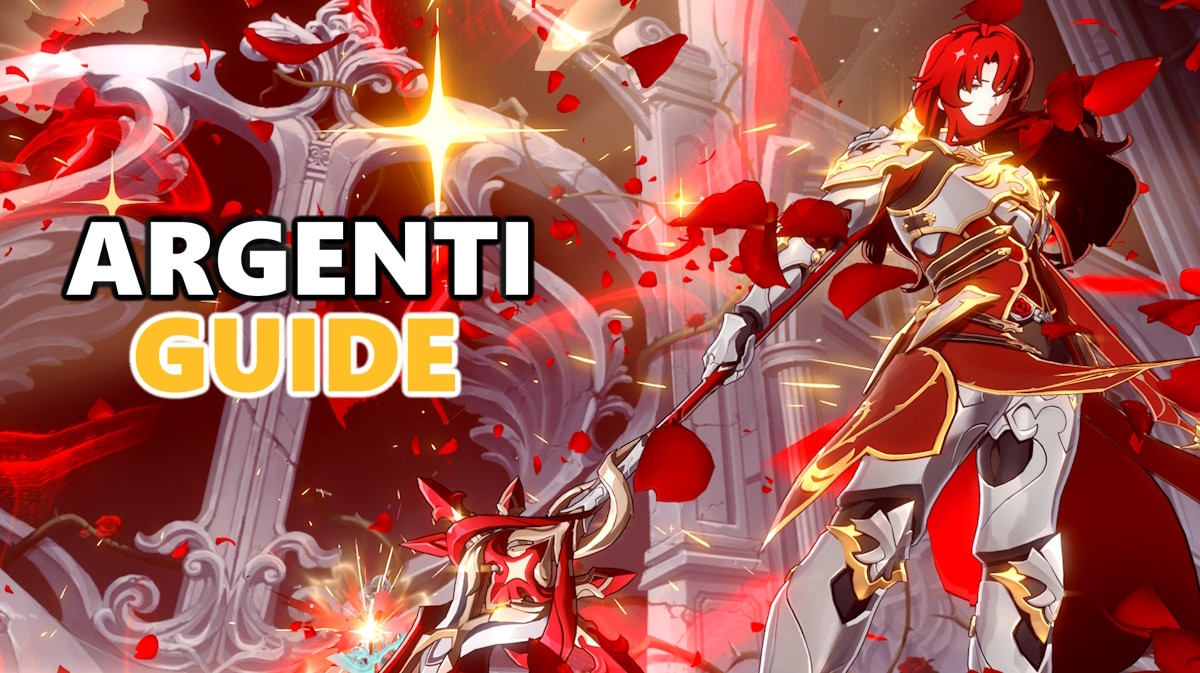
Argenti is a 5-star Physical Erudition character coming to Honkai Star Rail. With the second half of Version 1.5 upon us, players will be able to get the Knight of Beauty. Should you get him, or plan on getting him, then here's our Honkai Star Rail guide on the best build for Argenti, from his Light Cones to his Relics and more.
Honkai Star Rail Guide – Argenti Light Cones and Relics Build
Do note that this guide is for the currently available Light Cones and Relics. Should new sets of Light Cones and Relics appear in Honkai Star Rail that are better for Argenti, we will be sure to update this guide. Argenti is now available as the second half of Version 1.5 is going live.
Jump To: Abilities | Trace Priority | Light Cones | Relics | Teams
We already talked about Argenti's abilities in a separate article. However, for the purposes of this guide let's go through them quickly.
Argenti is a 5-Star Physical Erudition character. The Path of Erudition specializes in dealing damage to multiple enemy units using AoE Skills and Ultimates. His Basic Attack, Fleeting Fragrance, deals Physical DMG to a single enemy based on Argenti's ATK. His Skill, Justice, Hereby Blooms, deals Physical DMG to all enemies based on Argenti's ATK. His Ultimate also deals Physical DMG to all enemies, but it does have a gimmick new to the game.
For the first time in the game, Argenti's Ultimate has two levels based on how much Energy he has. If he only has 90 Energy, he will cast his Ultimate, For In This Garden Supreme Beauty Bestows. This deals a large amount of Physcical DMG to all enemies. If, however, he casts his Ultimate when he has 180 Energy, he will instead cast Merit Bestowed in “My” Garden. This deals even more Physical DMG to all enemies, while also dealing DMG six more times to a random enemy. This is Argenti's main source of damage.
His Talent, Sublime Object, allows Argenti to regenerate 3 Energy for every enemy hit with his Basic Attack, Skill, or Ultimate. Not only that, but it also grants him a stack of Ascend, which increases his CRIT Rate per stack. This stacks up to ten times. His Technique, Manifesto of Purest Virtue, inflicts Daze on all enemies in a set area. Dazed enemies will not attack the team. If the player attacks a Dazed enemy, it will deal Physical DMG to all enemies, while also regenerating Argenti's Energy.
When leveling Argenti's Major Traces, prioritize leveling his Ultimate first, as this is Argenti's biggest source of damage. Next is his Talent, which increases the Crit Rate increase per stack, up to 2.5% per stack at level 10. Next comes his Skill, which will increase the DMG it deals. Finally, level his Normal Attack.
As for Minor Traces, Prioritize Courage first, then Piety, and finally Generosity.
All values given here are at maximum Superimposed
An Instant Before A Gaze: Increases the wearer's CRIT DMG by 60%. When the wearer uses Ultimate, increases the wearer's Ultimate DMG based on their Max Energy. Each point of Energy increases the Ultimate DMG by 0.6%, up to 180 points of Energy.
This is Argenti's Banner Light Cone, and is also his Best in Slot. Since he can increase his Crit Rate through the Ascendance stacks, he just needs to augment his Crit DMG, which this Light Cone provides. Not only that, but it also increases the damage his Ultimate deals based on Max Energy. Since Argenty has 180 max energy, he will be able to maximize the Light Cone's second effect. This will increase his Ultimate Damage by up to 108%
Today Is Another Peaceful Day: After entering battle, increases the wearer's DMG based on their Max Energy. DMG increases by 0.4% per point of Energy, up to 160 Energy.
This Light Cone is similar to the secondary effect of An Instant Before A Gaze, which increases the DMG he deals based on Max Energy. The only downside is that it has a lower max cap, as well as a lower per-energy increase. This Light Cone will increase the DMG that Argenti deals by 64%. Do note that this increases his overall DMG dealt, not just his Ultimate. If the player does not have An Instant Before A Gaze, this Light Cone is the next best one.
Make the World Clamor: The wearer regenerates 32 Energy immediately upon entering battle, and increases Ultimate DMG by 64%.
Make the World Clamor prioritizes in charging up Argenti's Ultimate, while also increasing the damage it deals. At max Superimpose, it will charge up 32 energy, which is a sixth of his total Energy. It's a pretty big battery, and should help Argenti charge his Ultimate to Max. The 64% increase to his Ultimate DMG is no laughing matter either.
Passkey: After the wearer uses their Skill, additionally regenerates 12 Energy. This effect cannot be repeatedly triggered in a single turn.
Passkey is the last resort Light Cone if the player does not have any of the Light Cones above. It increases the Energy that he regenerates whenever he uses his Skill, which will help in charging up his Ultimate faster. The only downside is that the Energy recharge only happens once per turn. Not only that, but the Light Cone is a 3-Star one, so the stats it gives is very subpar.
4-Piece Champion of Streetwise Boxing
- Increases Physical DMG by 10%.
- After the wearer attacks or is hit, their ATK increases by 5% for the rest of the battle. This effect can stack up to 5 time(s).
This is likely the best Relic set for Argenti for two reasons. The first is that it increases his Physical DMG, which is helpful since Argenti is a Physical character. Additionally, the secondary effect will give Argenti a total of 25% ATK once it is stacked to max. While it does take some setup to reach max stacks, it's worth it as 25% ATK is nothing to scoff at.
2-Piece Champion of Streetwise Boxing & 2-Piece Musketeer of Wild Wheat or Prisoner in Deep Confinement
- Increases Physical DMG by 10%.
- ATK increases by 12%.
This is a good stop-gap Relics set for Argenti while you are farming up a 4-piece Champion of Streetwise Boxing. This gives an immediate 12% ATK buff, which bypasses the need to get stacks. The downside is that it's capped at 12%, so max stack Champion of Streetwise Boxing still gives a higher ATK% bonus.
2-Piece Inert Salsotto
- Increases the wearer's CRIT Rate by 8%. When the wearer's current CRIT Rate reaches 50% or higher, the wearer's Ultimate and follow-up attack DMG increases by 15%.
This Planar Ornament set is the best, for Argenti for two reasons. The first is that it gives him an extra 8% Crit Rate, which helps increase the DMG he deals. The second reason is the fact that it increases Argenti's Ultimate DMG once he reaches 50% Crit Rate. While the increase in follow-up attack DMG is useless in Argenti, it's fine as you still get the Ultimate DMG buff.
2-Piece Firmament Frontline: Glamoth
- Increases the wearer's ATK by 12%. When the wearer's SPD is equal to or higher than 135/160, the wearer deals 12%/18% more DMG.
This particular Planar set is a good alternative as it can increase Argenti's ATK, as well as his DMG. This is good as DMG increases from different sources is ideal. The only downside is that it does require Argenti to have 135/160 SPD. That means players will have to invest in SPD boots or have a SPD buffer like Asta. The downside of this Planr Set is that investing in SPD boots can potentially lower Argenti's DMG output, while players won't be able to maximize all of Asta's buffing capabilities.
2-Piece Space Sealing Station
- Increases the wearer's ATK by 12%. When the wearer's SPD reaches 120 or higher, the wearer's ATK increases by an extra 12%.
When all else fails, players can fall back to this Artifact Set. However, similar to the above Relic set, you will have to invest in some SPD boots or buffs to activate the effect. This can serve as a stop-gap while farming either Firmament Frontline: Glamoth or Inert Salsotto.
For Argenti Relics Main Stats, get Crit Rate or DMG for the body depending on what you need, and either ATK% or SPD depending on which Planar Ornament you will equip. Get Physical DMG% for the Sphere, and Energy Recharge% for the Rope.
Argenti will serve as the team's main DPS, obviously. That means players will have to fill the team with buffers and healers. Here is one possible team build for Argenti:
- Argenti (Main DPS)
- As mentioned above, Argenti will be the team's main DPS.
- Tingyun (Support)
- Tingyun is a good support for Argenti for two reasons. The first is that her Skill can buff the attacks of Argenti, adding some DMG and Lightning DMG to it. Additionally, her Ultimate buffs the DMG her target deals, while also charging their Ultimate up. As such, you can use Tingyun as Argenti's main battery.
- Pela (Debuffer)/Bronya (Buffer)
- Either of these options are good. Pela is good thanks to her abilities to lower the enemy's DEF. This allows Argenti to deal even more damage. Alternatively, players can also use Bronya to increase the DMG Argenti deals with her Skill, as well as their ATK and Crit DMG using her Ultimate.
- Bailu/Huohuo (Healer)
- Bring a Healer along to keep the team alive in fights. Huohuo is actually the best fit for this team, as her Ultimate will not only buff Argenti's ATK, but also provide Energy for his Ultimate.
That's all for our guide on Argenti's best Light Cones and Relics build in Honkai Star Rail. Again, Argenti will be available for drawing once Phase 2 of Version 1.5 goes live. Players interested in getting him must make sure to roll before then. Check out our gaming news articles for the latest in gaming news.

